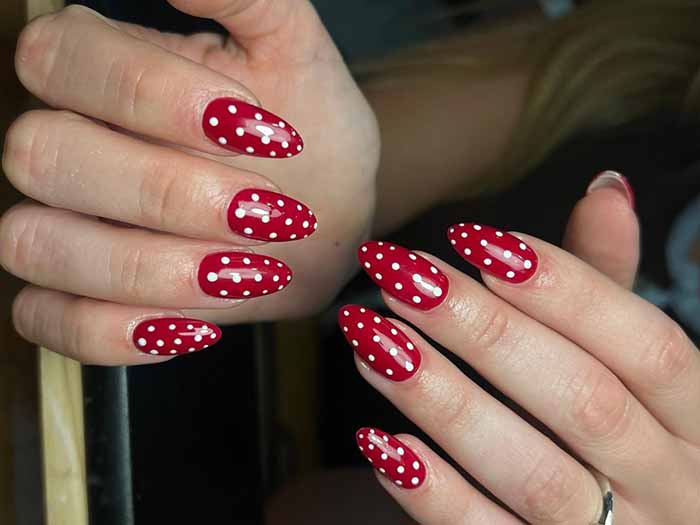
You don’t need to be a professional artist or own expensive equipment to create gorgeous, custom nail art at home. With a few essential tools, some practice, and a little creativity, you can transform your nails into tiny canvases. This guide covers everything you need—essential tools, beginner-friendly techniques, creative design ideas, and simple tricks to make your artwork last.
The Essential Nail Art Toolkit
Before you start painting, gather these must-have items:
- Base coat protects nails and helps polish adhere.
- Top coat seals designs and adds shine.
- Dotting tool creates dots, flowers, and patterns. Beginners can use a toothpick, bobby pin, or pencil eraser as a DIY alternative.
- Nail art brushes – thin liner brushes for lines and details, flat brushes for blending.
- Makeup sponge – essential for gradient and ombre effects.
- Striping tape – creates clean, geometric lines.
- Stamping kit – plate, stamper, and scraper for intricate designs in seconds.
- Nail polish remover and cotton swabs for cleanup.
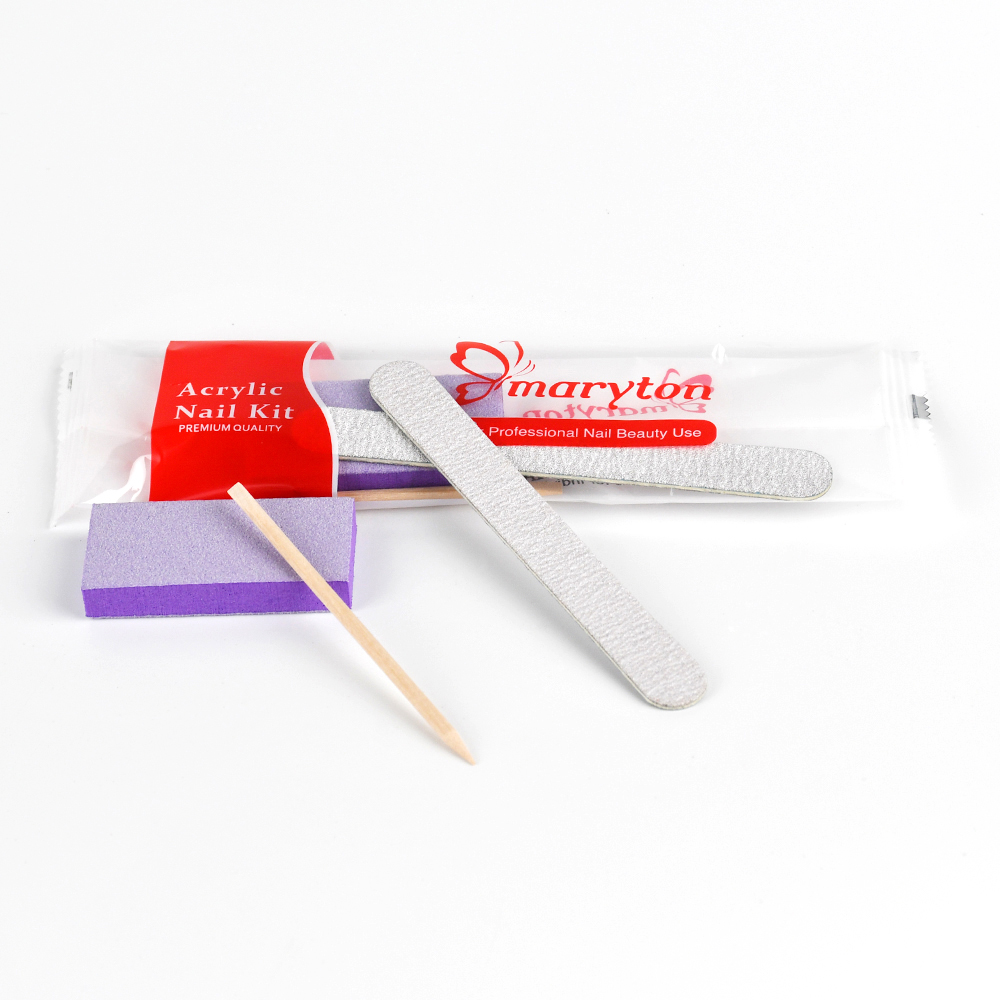
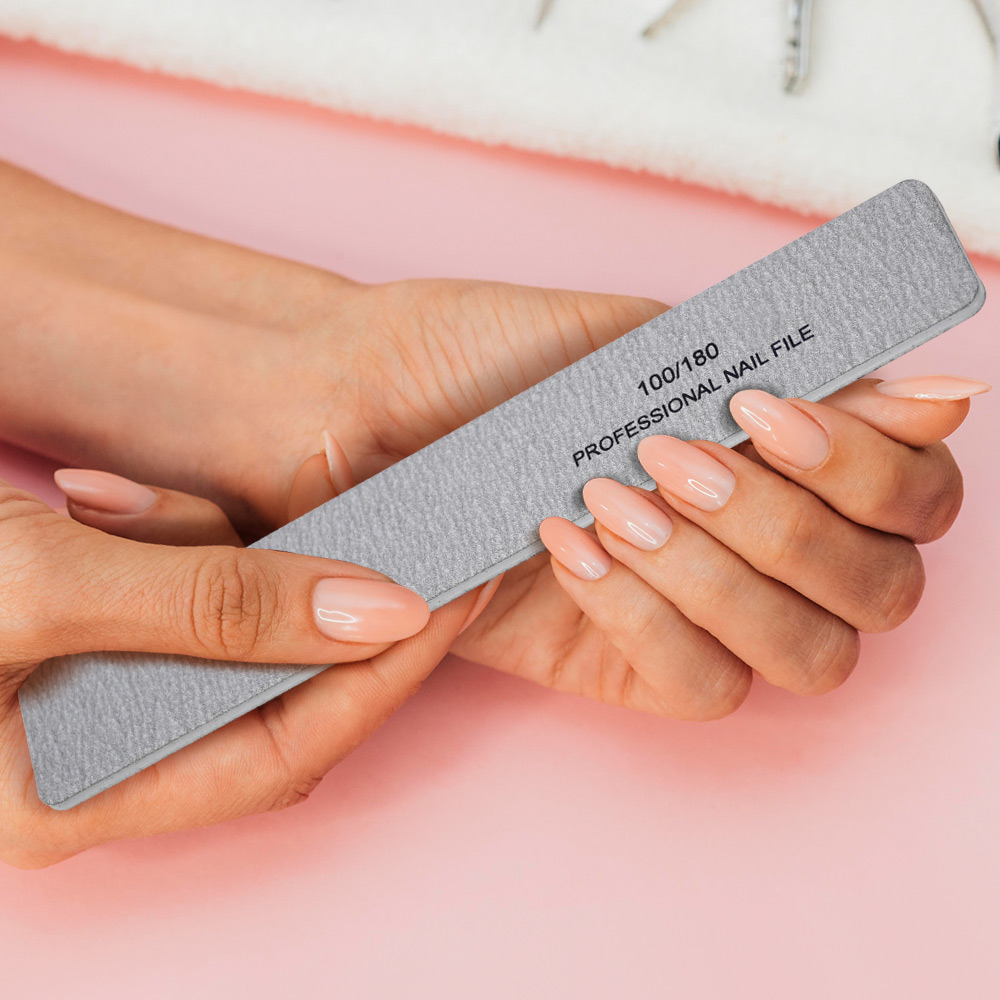
With pro manicure kit, your nail art not only looks professional but also lasts longer. To ensure long wear, begin with clean, dry nails. Push back your cuticles and lightly buff the nail surface to remove shine, which helps the polish grip and prevents premature chipping.
Beginner-Friendly Techniques Anyone Can Master
Start with these simple methods to build confidence.
Polka dots. Apply two thin coats of your base color and let dry completely. Dip dotting tool or toothpick into a contrasting polish and press gently onto the nail. For uniform dots, reload every 2–3 dots. Place dots in a pattern or randomly for a playful look.
Stripes and geometric lines. Paint your base color and let it dry. Apply striping tape in your chosen pattern. Paint over the nail with a second color. Before the polish dries, carefully peel off the tape to reveal clean lines. This creates crisp, professional-looking geometric designs.
Ombre gradient. Lightly apply two stripes of different colored polishes side by side onto a makeup sponge. Gently dab the sponge onto your nail, bouncing up and down to blend the colors. Build layers for opacity. The sponge’s texture creates a soft, seamless transition. Seal with top coat.
Creative Techniques to Elevate Your Nail Art
Once you have the basics down, explore these more artistic methods.
Marble effect with plastic wrap. The cling film method delivers beautiful marble patterns without messy water baths. Apply your base color and let it dry. While the nail is still wet, dab a crumpled piece of plastic wrap onto the surface. The random texture creates natural marble veining. For more dramatic swirls, apply drops of two colors onto the nail and use a toothpick to swipe gently before dabbing with wrap.
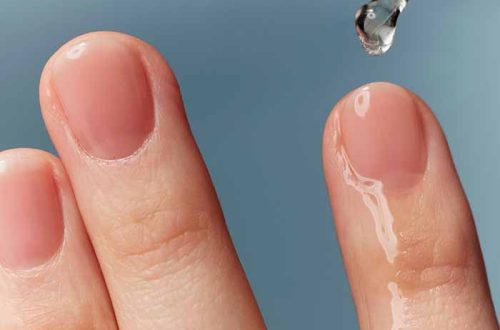
Water marbling. Fill a small cup with room‑temperature water. Drop alternating shades onto the water’s surface, allowing the polish to spread into circles. Use a toothpick to swirl the colors into a design. Dip your taped or jelly‑protected finger into the water, lifting off the floating design. This technique yields intricate, one‑of‑a‑kind swirls.
Nail stamping. Choose a design on your stamping plate and apply a generous amount of opaque stamping polish over it. Use a scraper to remove excess polish. Immediately press a silicone stamper onto the design and roll it onto your nail to transfer the pattern. A single stamp transfers intricate patterns in seconds—perfect for florals, lace, or geometric motifs.
Micro French. On short nails, a micro French manicure creates a lengthening effect. Use a fine liner brush to draw an ultra‑thin line along the edge of the nail. Double the line for a graphic, couture look. For summer, try a reverse French: outline the base of the nail with a metallic shade for a fresh twist.
Professional Tips for Lasting Results
Use thin layers. Thick layers take longer to dry and smudge easily. Build color gradually with thin coats.
Work in a well‑lit, ventilated area. Good lighting prevents mistakes, and ventilation reduces fume exposure.
Clean up edges. Dip a small brush in polish remover to clean stray polish from skin and cuticles. This keeps your art looking crisp and professional.
Practice and experiment. Nail art takes practice. Start with simple designs on one or two accent nails before progressing to full sets. Practice on old press‑on tips or a piece of paper before working on your own nails.
Finish with a high‑quality top coat. A good top coat prevents chipping and keeps colors vibrant. Reapply top coat every few days to extend wear.
For short nails, keep designs simple. Intricate patterns can look cluttered on a smaller canvas. Delicate linework, negative space, subtle geometric shapes, and micro French tips work beautifully.
The Bottom Line
Creating unique nail art at home is about patience, practice, and the right tools. Start simple with dots, stripes, and ombre. As your confidence grows, explore water marbling, stamping, and marble effects. Proper nail prep and a good top coat make all the difference in durability. With dedication, you’ll turn your nails into miniature masterpieces that reflect your personal style.
Read also: Gel Polish: The Long-Lasting Manicure – A Complete Guide to Application, Removal, and Care


One comment on “DIY Nail Art: How to Create Unique Designs at Home”